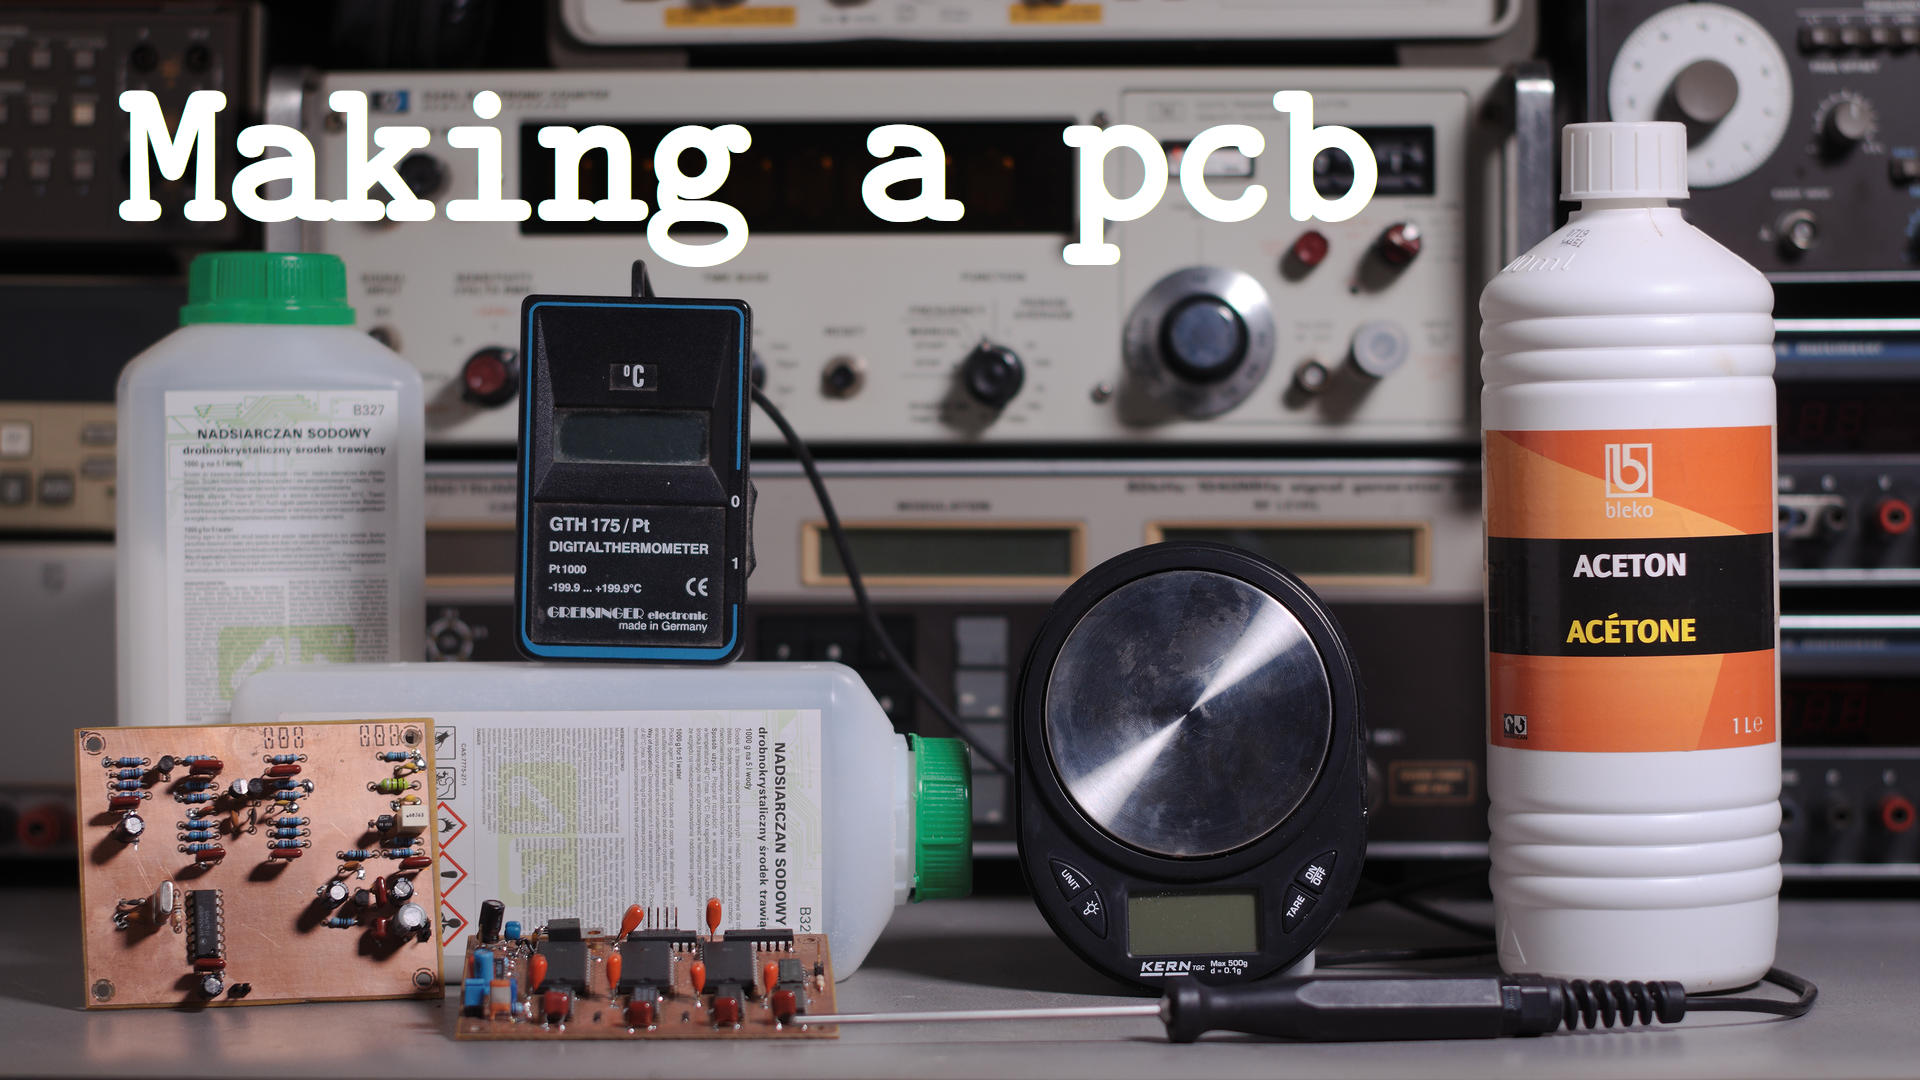
Etching printed circuit boards with the toner transfer method
I make my own printed circuit board. It is fun to do and very fast indeed. You wake up in the morning with a great idea and before supper you are testing your working prototype.
2021-07-25
Video

Step by step
Below a summary of the steps I make in the video.
Print the mirrored design on glossy paper. Use a laser printer.
When making a double sided pcb, place two two designs on top of each other. Align the two parts using a bright light. Use the drill holes as a reference. Fixate two two pieces with tape making an envelope.
Cut a piece of base material to size and remove the copper oxide layer with some sand paper. Degrease the surfaces with acetone or alcohol.
Put the base material inside the paper envelope and align.
Put the envelope several times through a laminator.
Soak the envelope in water for about 30 minutes.
Peel of the paper and scrub with a toothbrush to remove every last bit of paper. Dry of the pcb
If necessary, retouch the toner with a permanent marker.
Make the etchant solution by diluting 40 grams of potassium persulfate in 200 ml hot water (50 degrees Celsius). Place in a plastic water tight container together with the pcb.
Make a waterbath with a temperature of about 40-50 degrees Celsius. Place the plastic container in the water bath an agitate it for about ten minutes. If all the copper is etched away, rinse the pcb with water and dry.
Drill the holes in the pcb. Use a small drill press.
Remove the toner with acetone.
Solder the components to the board.