The Pinephone as my only phone
I never owned a smart phone and I never missed having one, as I am not into social media. But I do like computers, so when the beta version of the Pine phone became available, I ordered one straight away. Maybe an Android device and an iOS device are both technically computers, without rooting them, you are not allowed to use them as such. And even when rooted, what can you do with them, without big tech knowing? The Pine phone is different: it is not a smart phone, it is a computer running Linux. Even better: it is your computer running Linux, as you have sudo rights out of the box! This blog describes my first steps trying to write an application for the PinePhine. Most tutorials assume you are already an experienced coder. But I’m a noob, so I had to figure out a lot of stuff that is obvious to the senior. So, if you are new to Linux application development for the graphical user interface, I hope you can learn from my struggles.
2021-05-27
How I finally own a smart phone
Playing with the PinePhone
Doing something usefull with the Pinephone
(or writing my first app)
Martijn Braam wrote a good article about the Linux phone. https://blog.brixit.nl/do-you-really-want-linux-phones/ I think he has a point, but a lot of Linux phone owners are not necessarily software engineers. Neither am I. But as an electronics design engineer I do have some basic coding skills. So why not give it a try?
Preparation
Installing the tool chain
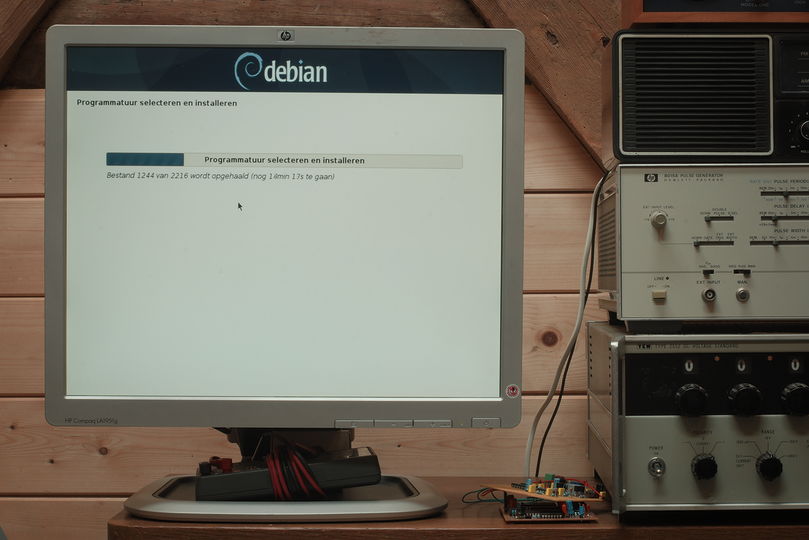
In order to cross compile the code I have to install a cross compiler on the Debian machine. The Pinephone has a 64 bit Arm processor and therefore I need the aarch64 cross compiler. How do I know? Well, that’s what the internet says. And everything you read on the interwebs is true, right? Let’s check it by running the command ‘uname -m’ in a terminal. You can do it on the phone itself, which is very cool. But you can also ssh into the phone and do it that way, which is even cooler!
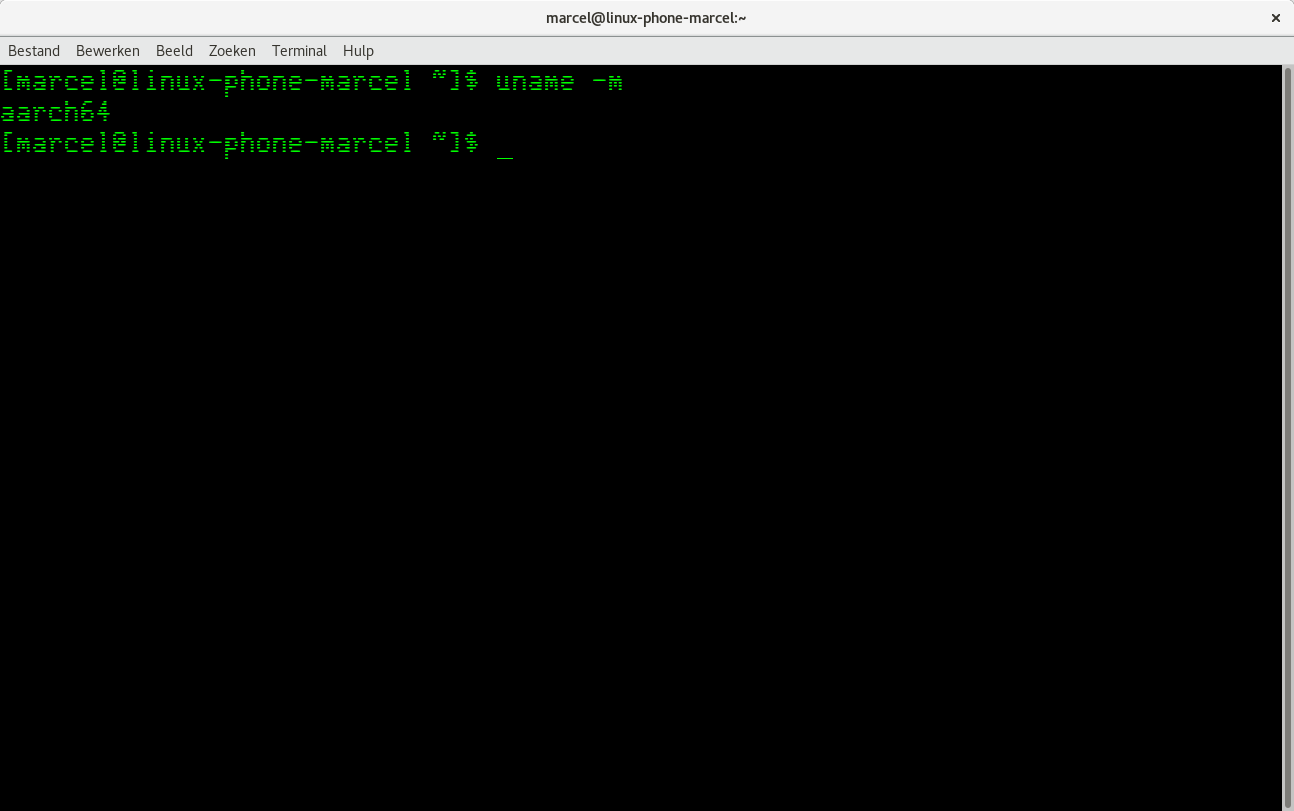
I now know for sure that I need the aarch64 cross compiler. So let’s install it:
sudo apt install gcc make gcc-aarch64-linux-gnu binutils-aarch64-linux-gnuI also install the armv7l cross compiler. This is not needed for the Pinephone, but I own a bunch of Raspberry Pi’s, which need this cross compiler:
sudo apt install gcc make gcc-arm-linux-gnueabi binutils-arm-linux-gnueabiStart programming
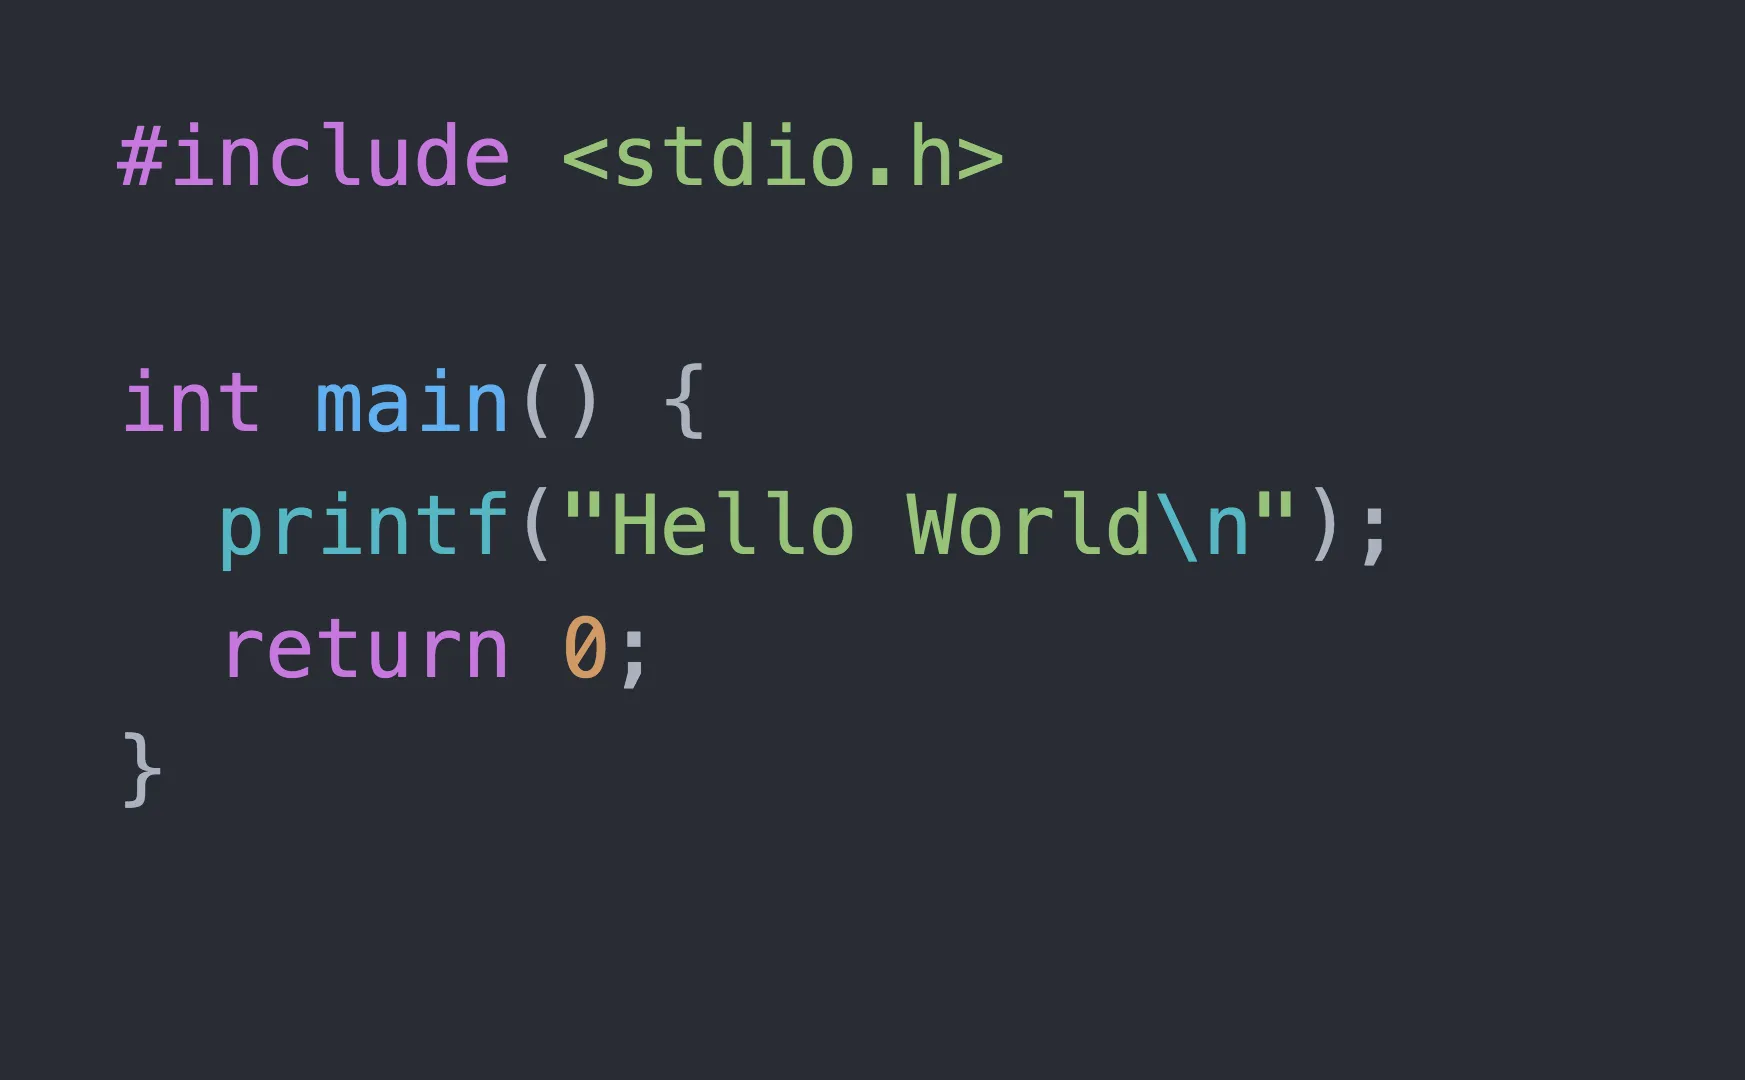
Now I can write a simple program. What about “hello world”? Seems appropriate:
nano helloworld.cAnd start typing:
#include<stdio.h >
int main()
{
  printf("Hello World!\n");
  return 0;
}
Save the file and exit the editor. Now let’s compile the program for the host, which is an x86 machine:
gcc helloworld.c -o helloworld-x86_64I can now run this program on the Debian PC:
./helloworld-x86_64Now let’s compile it for the Pinephone:
aarch64-linux-gnu-gcc helloworld.c -o helloworld-aarch64 -staticIf I want to run this program, I have to transfer the file to the Pinephone:
sftp linux-phone-marcel
put ./helloworld-aarch64
quit
Let’s go to the phone and test the program:
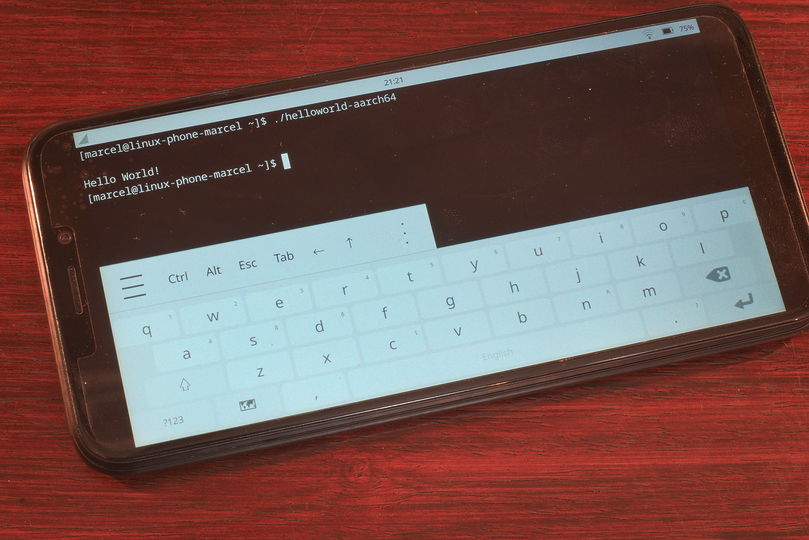
Hello world inside a window
(or writing my second app)
As a non-programmer, I had to start from scratch. Sure, I can write C programs for embedded systems and I even know some VHDL. But that’s all peanuts compared to setting up a development environment for GNOME (or KDE for that matter). The tools and documentation are there, but if you, like me, never made a program for a PC or a smartphone, it is all a mystery to you. On most sites they just say: install your favorite development tools and start programming. Well, that information is of no use when you do not know which tools are available and how to use them. After a couple of evenings browsing through forums, websites and video’s I stumbled across a good tutorial: https://developer.puri.sm/Librem5/Apps/index.html. I still have to read it thoroughly, as it is very comprehensive. It is written for developing applications for the Librem 5 phone, but that phone is build around the same processor as the PinePhone. So it should (and it did) work.
The technical stuff
This is a summary of what I did to get my application running on the PinePhone. I strongly suggest to read the tutorial on https://developer.puri.sm/Librem5/Apps/index.html for a better understanding of the process.
It is all based around flatpak, so I had to install that:
sudo apt-get install flatpak flatpak-builder

flatpak remote-add --if-not-exists flathub https://flathub.org/repo/flathub.flatpakrepo

flatpak install flathub org.gnome.Platform//3.34
For the cross compilation you need qemu:
apt-get -y install qemu-user-staticBecause all the examples on the Purism site are made with GNOME, I choose to stick with that and installed GNOME builder:
flatpak install flathub org.gnome.BuilderLater, I can start GNOME builder by typing:
flatpak run org.gnome.BuilderNow some technical stuff I did not fully understand, but did anyway. You have to be root; sudo does not suffice:
echo -1 > /proc/sys/fs/binfmt_misc/qemu-arm

echo ":qemu-arm:M:0:\x7f\x45\x4c\x46\x01\x01\x01\x00\x00\x00\x00\x00\x00\x00\x00\x00\x02\x00\x28\x00:\xff\xff\xff\xff\xff\xff\xff\x00\x00\x00\x00\x00\x00\x00\x00\x00\xfe\xff\xff\xff:/usr/bin/qemu-arm-static:F" > /proc/sys/fs/binfmt_misc/register

echo -1 > /proc/sys/fs/binfmt_misc/qemu-aarch64

echo ":qemu-aarch64:M:0:\x7f\x45\x4c\x46\x02\x01\x01\x00\x00\x00\x00\x00\x00\x00\x00\x00\x02\x00\xb7\x00:\xff\xff\xff\xff\xff\xff\xff\x00\xff\xff\xff\xff\xff\xff\xff\xff\xfe\xff\xff\xff:/usr/bin/qemu-aarch64-static:F" > /proc/sys/fs/binfmt_misc/register
Hello World
Now everthing should be ready to try to compile my first GUI program for the PinePhone. I followed this tutorial: https://developer.puri.sm/Librem5/Apps/Tutorials/First_Application/index.html
In order to cross compile the application, I had to install the aarch64 version of the runtime and SDK:
flatpak --user install flathub org.gnome.Platform/aarch64/3.34 org.gnome.Sdk/aarch64/3.34Now I can build the example program from the above tutorial and make it into a flatpak:
flatpak-builder --arch=aarch64 --repo=myrepo _flatpak com.example.first_application.json

flatpak build-bundle --arch=aarch64 myrepo app.flatpak com.example.first_application
The file app.flatpak contains the aarch64 build and has to be copied to the PinePhone.
Now, on the PinePhone, register the flatpak remote and install the applicition:
flatpak --user remote-add --if-not-exists flathub https://flathub.org/repo/flathub.flatpakrepo

flatpak --user install app.flatpak
Now I can finally run the application on the PinePhone:
flatpak run com.example.first_application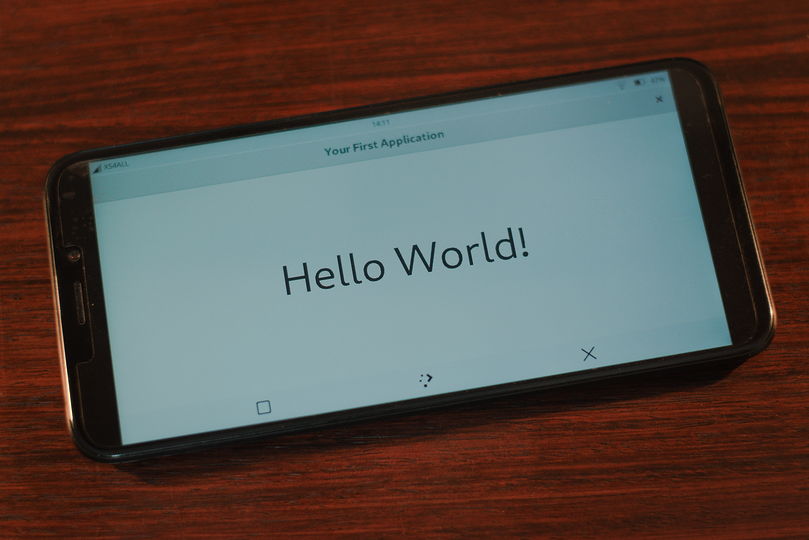
That’s it. Now I can write programs with a GUI for the Pinephone. Well, I first have to read a lot of documentation before I really understand what is going on. But I know that, in theory at least, I can write programs for the PinePhone.
I also tried to install the development environment on my openSUSE Leap workstation, but that did not work. openSUSE Leap is not made for developers. Thumbleweed is probably better. But I need a stable workstation for editing video, designing pcbs and documenting projects. As much as I like fiddling with computers, I also need at least one machine that just works all the time. I tried to run GNOME builder via remote X11 from Debian to my openSUSE workstation, but it seems that the flatpak software does not allow X11 forwarding. So I have to make do with the old Core2Duo Debian station with the mushy keyboard for developing applications for the PinePhone.
Pinephone struggles
(or trying to start a C project)
Now I know I can run example programs on the Pinephone, I want to see if I can start a new project in GNOME builder and try to make an adaptive program. The examples of the tutorial are all written in Python. I don’t like Python: using tabs for curly brackets is just wrong. But that’s just me: writing code in C for 25 years is hard to undo. Oh well, I am sure I could get used to it. But than there is the performance issue: compiled programs just run faster than interpreted ones. The Pinephone is not a speed monster, so C seems the obvious choice.
The technical stuff
The C example in the tutorial of Purism (https://developer.puri.sm/Librem5/Apps/Tutorials/GNOME_Builder_Flatpak/index.html)is a showcase of what the libhandy library can do. Very handy (no pun intended), but way to complicated for a noob like me.
“Libhandy?”, you may ask. That’s the library for making responsive applications. I want to use this library, so my programs can run on both large screens as well as small ones.
After a quick search, I found a small sample project using gtk and libhandy build with GNOME builder. Just what I needed. It is a framework for an organizer-app: https://github.com/nilanshu96/Simple-Organizer. No functionality at all, just a skeleton, ready to be sculptured into another form. By me, that is.
It depends on SDK and runtime 3.36. The GNOME builder was not able to download these automatically, so I had to do this by hand:
flatpak install org.gnome.Platform/aarch64//3.36

flatpak install org.gnome.Sdk/aarch64//3.36
I am aware that this is not the right command for downloading the version, but it does seem to work, as it asks me what version I want to download. It is a real pain to get good documentation. It is almost as they want you to struggle. And only when you figure it out by yourself you may enter their world. I now, I am exaggerating, but I think the best way to enter this world is by someone already familiar with the tools. Unfortunately, I don’t now that someone, so I have to struggle a bit more. But I will get there in the end!
Solving the mushy keys
The working experience on the old Core2Duo is not very nice: the screen is small, the desk is not very ergonomic and the keyboard is awful. For me only the best is good enough: I use a buckling spring keyboard with my workstation. As I previously mentioned, X forwarding via ssh does not work for flatpak applications. So another approach is needed. Let’s solve this by enabling vnc remote desktop. Therefore I had to install gnome-remote-desktop on the Debian computer:
sudo apt install gnome-remote-desktopNow I could select share screen in the GNOME settings tool on the Debian machine. This enabled the VNC server.
When I tried to log in remotely (or locally by connecting to localhost) with the right credentials, the connection closed abruptly. No idea why, but a reboot helped.
The Debian machine can now sit headless under the bench and I can login via VNC and start the GNOME builder that way. My openSUSE workstation with two monitors can be used as the VNC client and I can comfortably type on my Model M.
Going from here
I still have a lot of reading to do, but finally I have a basic setup for developing software, in C, for the PinePhone. Maybe I now will get a promotion from noob to newbie.
Pinephone into BlackMagic
(or how to control a Pocket Cinema Camera 4K)
The development of a GTK application is a struggle: as a hardware guy, high level programming doesn’t come naturally to me. That’s why I stopped trying, for now at least. That’s not to say that I shall throw in the towel. Oh no, but I am going to focus on the functional side of the application. Because I started this endeavor for a reason: I wanted to control my Black Magic Pocket Cinema Camera 4K from my PinePhone. The camera has a Bluetooth Low Energy interface and that is something I understand…
The technical stuff
First I searched for information about Bluetooth in general, as I have never before used this protocol. And a Raspberry Pi was used for the first experiments.
The Raspberry Pi has the tool I needed already installed: bluetoothctl. This little program can scan, pair, bond and connect as well as send and receive gatt commands.
First I scanned for Bluetooth devices by turning on the scan function:
$ bluetoothctl
[bluetooth]#scan on
It discovered the Black Magic Pocket Cinema Camera right away and gave me its address. With this address I could try to pair up with it. But first I disabled the scan and set the newly found device as trusted:
[bluetooth]#scan off

[bluetooth]#trust 60:A4:23:03:28:28

[bluetooth]#pair 60:A4:23:03:28:28
On the camera screen a code appeared which I entered in bluetoothctl.
Now the Raspberry Pi and the camera are bonded, meaning I had to do this pairing only once. From now on, I simply can connect to the camera by:
[bluetooth]#connect 60:A4:23:03:28:28If, for some reason, a connect fails, you can remove the device from the list by:
[bluetooth]#remove 60:A4:23:03:28:28And pair up again. It is possible to see which devices are paired by entering:
[bluetooth]#paired-devicesThis is al it took to control the camera. Which is the next bit: GATT or Generic Attribute Profile. This defines the way that two Bluetooth Low Energy devices transfer data back and forth. In bluetoothctl you can enter this mode by typing:
[bluetooth]#menu gattListing all the attributes the device has:
[bluetooth]#list-attributesThere are two important UUIDs: the Outgoing Camera Control (UUID:5dd3465f-1aee-4299-8493-d2eca2f8e1bb) and the Incoming Camera Control (UUID:b864e140-76a0-416a-bf30-5876504537d9)
If we select the incoming camera control, we can read important status from the camera:
[bluetooth]#select-attribute b864e140-76a0-416a-bf30-5876504537d9

[bluetooth]#notify on
A bunch of data now scrolls over the screen. From this data we can distill information about the state of the camera.
[bluetooth]#notify offIf we select the outgoing camera control, we can write commands to the camera:
[bluetooth]#select-attribute 5dd3465f-1aee-4299-8493-d2eca2f8e1bbA big thanks to Sina Roughani https://forum.blackmagicdesign.com/viewtopic.php?f=12&t=110565 and https://github.com/rgbbytes/blackmagic-bluetooth-control/ for sharing his knowledge on the Black Magic Pocket Cinema Camera Bluetooth LE implementation. Without his help, I still had a lot of frustrating hours of research ahead of me.
I took the liberty to copy a small, but very important, section from his post. It’s about the order you have to send the byte to the camera:
The most critical part about this[the data send to the camera], with limited documentation available is that when you write commands you need to group your bytes within parentheses! You can use hex or decimal values. Here's the command to focus.

1st byte addresses camera 1 so we say 1
2nd byte says we send 8 bytes on top of the 4 byte header, so we say 8
3rd byte says we're sending a command, so we say 0
4th byte is reserved for future use by BM, so we say 0, thus ends the header
5th byte says we pick the 0th category group , "Lens" so we say 0
6th byte says we pick the 0th parameter of the group, "Focus", so we say 0
7th byte says the data type we are manipulating is a fixed, signed 5.11 number, defined as type 128 in the manual, so we say 128
8th byte says we are setting (0) or adding (1) the value, since we are setting, we say 0, thus ends the command
9th byte says the second byte of the 5.11 number we set/offset*
10th byte says the first byte of the 5.11 number we set/offset*
11th byte is padding up to a 4-byte/32-bit multiple message length
12th byte is padding up to a 4-byte/32-bit multiple message length

So our message was 12 bytes/96 bits long and set the focus to a value.
*The 16 bit focus position data is encoded Least Significant BYTE first, so when we write the maximum 0x0800, we actually write 0x00 0x08, and when we write 0x0001, we actually write 0x01 0x00, this was pretty confusing initially.
Here, I'll set the focus to 0.9995, and demonstrate using hex and numbers

[bluetooth]#write "0x01 0x08 0x00 0x00 0x00 0x00 0x80 0x00 0xff 0x07 0x00 0x00"
or
[bluetooth]#write "1 8 0 0 0 0 128 0 255 7 0 0"
The most important function I want to control is the record button. When I sit in front of the camera, I want to be able to start and stop it remotely. Until now, I start the camera, sit down in front of it, plug in the lavalier mike and start reading from the teleprompter. But I do make a lot of mistakes (some call it ‘making bloopers’). Than I have to restart the teleprompter and start all over again. All that time, the camera is spitting out gigabyte after gigabyte. And I end up with very large files I have to archive. If I can start and stop the camera remotely, I can trow away the files that are ruined because of my stupidity and I only have to archive the good takes. Saving tons of hard disk space.
So my first test scripts are for start recording and stop recording. Here they are:
$ cat ./bmpcc4k-start.sh
#!/bin/bash
bluetoothctl << EOF
#devices
#agent on
#connect 60:A4:23:03:28:28
menu gatt
select-attribute 5dd3465f-1aee-4299-8493-d2eca2f8e1bb
write "255 5 0 0 10 1 1 0 2 0 0 0"
EOF

$ cat ./bmpcc4k-stop.sh
#!/bin/bash
bluetoothctl << EOF
#devices
#agent on
#connect 60:A4:23:03:28:28
menu gatt
select-attribute 5dd3465f-1aee-4299-8493-d2eca2f8e1bb
write "255 5 0 0 10 1 1 0 0 0 0 0"
EOF
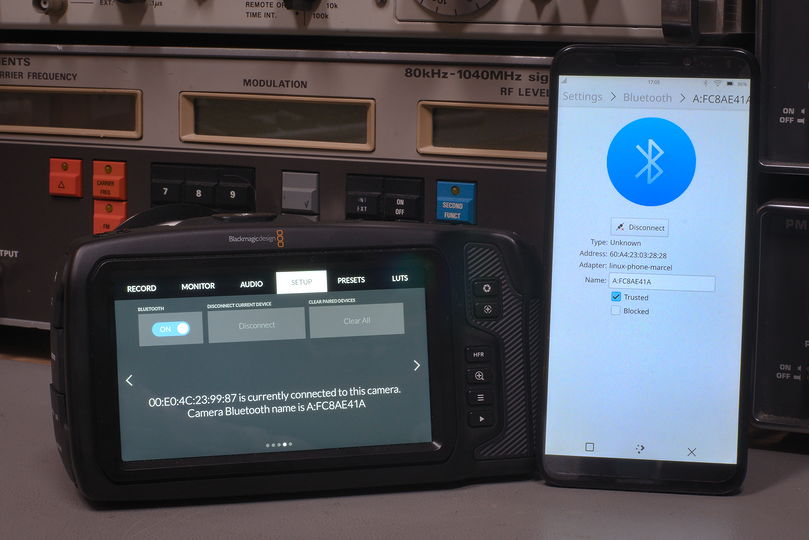
As you can see, I commented out the connect part. This is because you only have to connect once per session. And from the PinePhone you can connect by means of the Bluetooth icon in the tray. Yes, these scripts run on my PinePhone as well as a Raspberry Pi. For the PinePhone, I had to install bluetoothctl by hand and pair the camera to the phone. Pairing could not be done via the gui. But you can connect via the gui, which is nice.
Summary of the things I had to do on the PinePhone:
Install bluetoothctl:
$ sudo pacman -S bluez-utilsPairing with the camera:
$ bluetoothctl

[bluetooth]#agent on

[bluetooth]#scan on
Then you’ll see the named devices available, pick your device ID, XX:XX:XX:XX:XX:XX
[bluetooth]#scan off

[bluetooth]#trust XX:XX:XX:XX:XX:XX

[bluetooth]#pair XX:XX:XX:XX:XX:XX
You will be prompted for the 6 digit passkey/PIN. Then you can connect and access the GATT data:
[bluetooth]#connect XX:XX:XX:XX:XX:XX

[bluetooth]#menu gatt

[bluetooth]#list-attributes
The last three commands are not necessary. I ran these commands to test if it was all working correctly. Which it did.
From now on, the PinePhone is bonded to the Black Magic Pocket Cinema 4K. You can connect to the camera by tapping the Bluetooth icon in the system tray and select connect. If you want, you can also connect via bluetoothctl. Both work equally well and can be used alongside each other.
After connecting to the camera, you can start and stop the camera by running the scripts from the command line. A gui would be nice…
Pinephone and BlackMagic are a thing
(or how to control a Pocket Cinema Camera 4K with graphics)
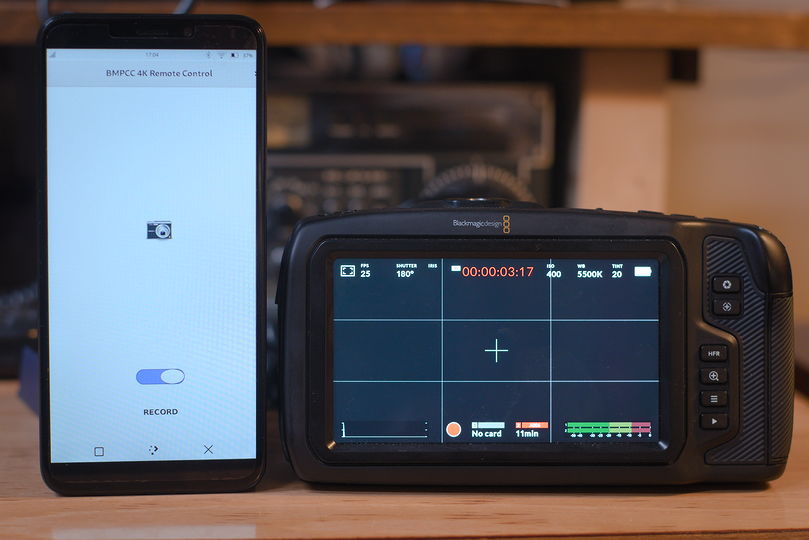
There now is Bluetooth communication between the PinePhone and the Black Magic Pocket Cinema Camera 4K. Time to take the last hurdle: the graphical user interface of the application. After lots of late nights finding out how the hell it all works, I now figured it out. And as with a lot of things: it is very easy once you know how to do it. But the crux is in the once.
The technical stuff
I started a new C project in GNOME builder. And that new project is a Hello, World. My third one during this project! I threw away the Hello, World label and realized I could use Glade for designing the graphical user interface. I found a very old, but very useful tutorial which gave me an insight in this new world. http://blog.borovsak.si/2009/09/glade3-tutorial-1-introduction.html
Once I designed a very crude gui, consisting of an icon, a button and a label, I had to connect the signal from the button to the C code. Again, I had no idea how to do that. The code from the libhandy sample program I used before (https://gitlab.gnome.org/GNOME/libhandy) was a source of inspiration. And after some fooling around I managed to connect the button to the code. Now I had a program that did absolutely nothing, but I was happy.
Now it was time to add the two projects together. The Bluetooth scripts for starting and stopping the camera should be triggered by the switch. Easy right?
The code for doing that is very basic. Just import de stdlib.h library and call the system() function. The argument is a string with the system call, which in my case is the name of one of the scripts. The code is embarrassingly easy:
#include <stdlib.h>
void BMPCC4K_start_recording(void)
{
system("~/bmpcc4k/bmpcc4k-start.sh");
}
void BMPCC4K_stop_recording(void)
{
system("~/bmpcc4k/bmpcc4k-stop.sh");
}
It depends on the scripts being placed at a fixed location. That’s not very elegant. You could even argue that it is very wrong! And you are right. But for the purpose of this experiment I did it anyway.
I compiled the whole program for the aarch64 architecture and flatpaked it. I transferred it to the PinePhone and installed it with:
flatpak install nl.meezenest.RemoteControlBMPCC4KUnfortunately, it did not work. The app started and I could toggle the switch, but nothing happened. When I started the program from the command line, I could see what was going on: Flatpak keeps the program in a sandbox. Therefore it has no access to the scripts. That is a very good practice, but not very handy for development. So I had to start the app with an additional command, giving it access to the home directory, where the scripts were located. I also copied the bluetoothctl program to the same directory as the scripts are in. That is because the /bin/ directory is off limits for Flatpak applications:
flatpak --filesystem=host run nl.meezenest.RemoteControlBMPCC4KStill no cigar. The bluetoothctl program can not access the Bluetooth hardware (or socket to that hardware). I had to get rid of the sandbox as much as possible. Not a good practice, but for development purposes I think it is okay to do:
flatpak --filesystem=host --device=all --socket=system-bus run nl.meezenest.RemoteControlBMPCC4KFinally success: I could start and stop the camera with the app!
It is not a very good program: it is a mismatch of C code and bash scripts. It also relies on the user to connect manually to the camera before trying to start and stop the camera. I made absolutely no effort to catch all the possible errors that could occur. I removed the sandbox around the program. The scripts have to be in the right spot. The bluetoothctl program has to be available on the machine and the camera has to be paired manually. And there are undoubtedly many more things I could have done better. But as this is only version 0.0.1, I can get away with it, I hope…